This user guide provides the steps required to configure MacOS with Wireguard from StarVPN.
Step1 – Register an account with StarVPN
Head on over to our pricing plan options and choose a VPN plan that suits your needs. You can register on checkout or directly here.
Step 2 – Download Wireguard Configuration
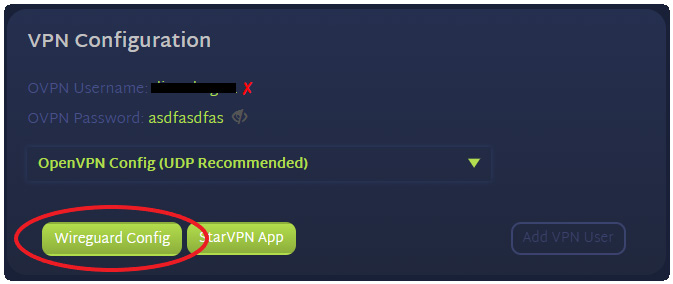
Log into the StarVPN member area dashboard. Click on Wireguard Config to download the configuration file. Each slot will contain a unique wireguard configuration file.
Step 3 – Download the Wireguard App from the App Store
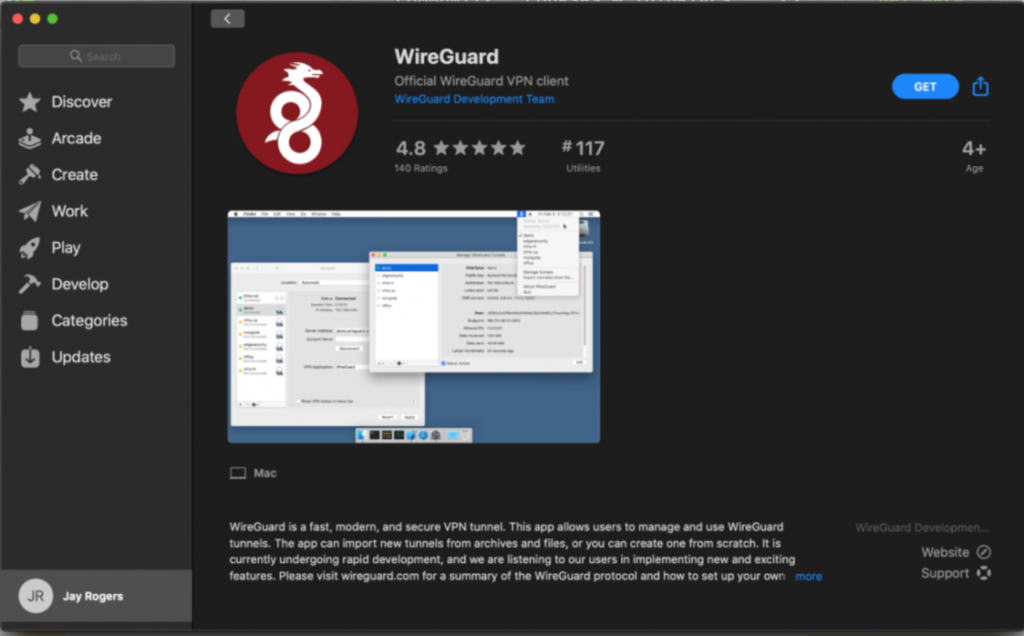
Download and install the latest Wireguard App from the Apple App Store here. Install the App for following the installation instructions on your device.
Step 4 – Input Configuration
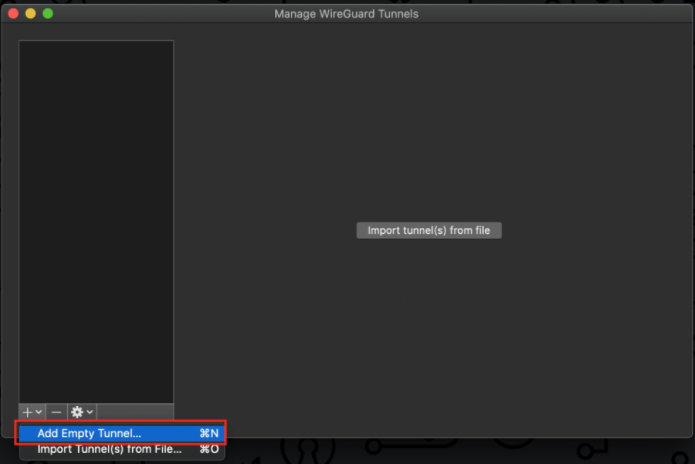
Start up the Wireguard client, select “Add Tunnel” -> “Import Tunnel from File“. Select the configuration file downloaded in Step 2. You can also choose to manually enter the configuration by selecting “Add Empty Tunnel“, then simply copy and paste the contents of the configuration file.
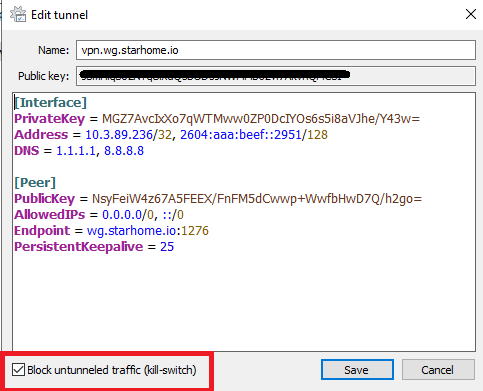
Step 5 – Additional Configuration
Select the newly added tunnel and click the “Edit” button. From here, you can choose to enable or disable the Kill Switch option or edit your tunnel by copying and pasting the configuration directly in this window. For example, if you’d like to connect to slot 2 or 3, simply copy and paste the configuration in separate tunnel profiles.
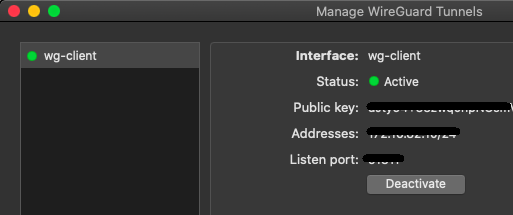
Step 6 – Connect
Click the “Activate” button to be connected to the StarVPN Wireguard VPN. If the connection is successful, a green indicator light will appear next to “Status“.
Once you are connected, login to the StarVPN dashbard to configure your IP Type, Geo-location and ISP. No additional configuration files are required.
Troubleshooting
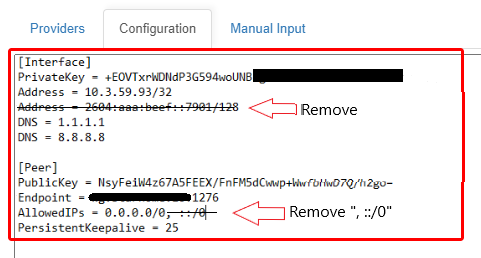
The most common issue with routers or desktops is the inability to support IPv6, if you try connect and receive an IP error or connection issue, remove the IPv6 configuration in the configuration file