This user guide provides the steps required to configure a residential VPN on Linux using the Wireguard protocol from StarVPN. For illustration purposes, we choose Ubuntu LTS 22.04 distro.
Step1 – Register an account with StarVPN
Head on over to our pricing plan options and choose a VPN plan that suits your needs. You can register on checkout or directly here.
Step 2 – Download Wireguard Configuration
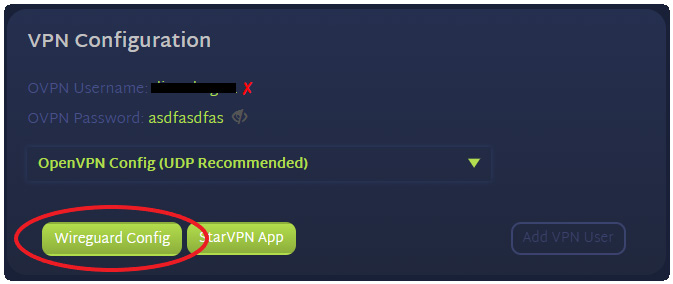
Log into the StarVPN member area dashboard. Click on Wireguard Config to download the configuration file. Each slot will contain a unique wireguard configuration file.
Step 3 – Install the Wireguard Client on LInux
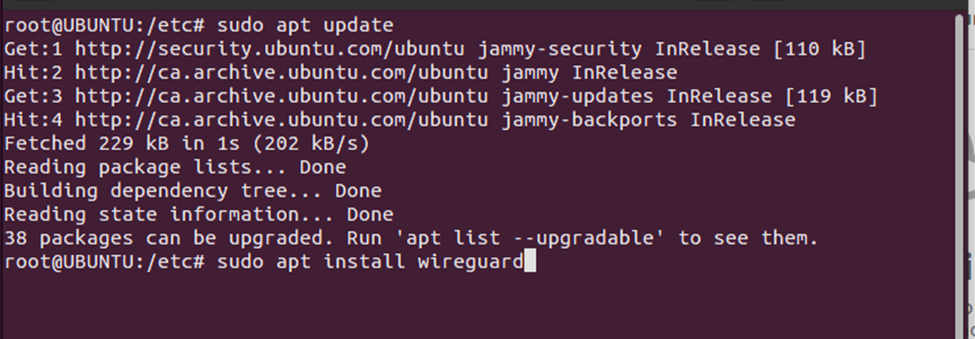
# sudo apt-update
# sudo apt install wireguard
Step 4 – Wireguard configuration file
a) Navigate to the wireguard installation directory in “/etc/wireguard”.
b) Copy the StarVPN wireguard configuration file “wg_starvpn.conf and rename it to the /etc/wireguard/wg0.conf. Or you can simply take the contents of the wg_starvpn.conf file and copy / paste it into /etc/wireguard/wg0.conf.
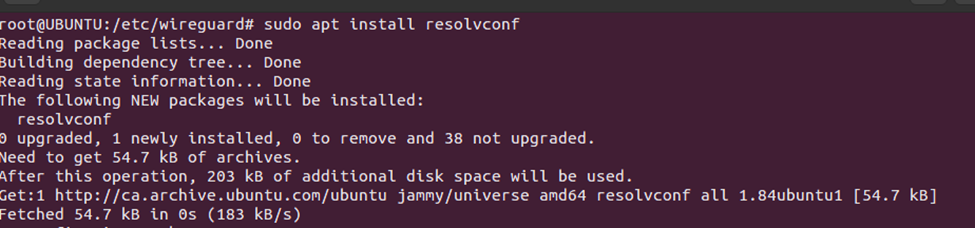
Step 5 – Install resolvconf
Resolvconf is a pre-requisite for wireguard client on Linux.
# sudo apt install resolvconf
Step 6 – Start and connect Wireguard client to StarVPN Wireguard server
Use systemctl to manage startup / shutdown of wireguard services by invoking # systemctl start wg-quick@%configfilename%
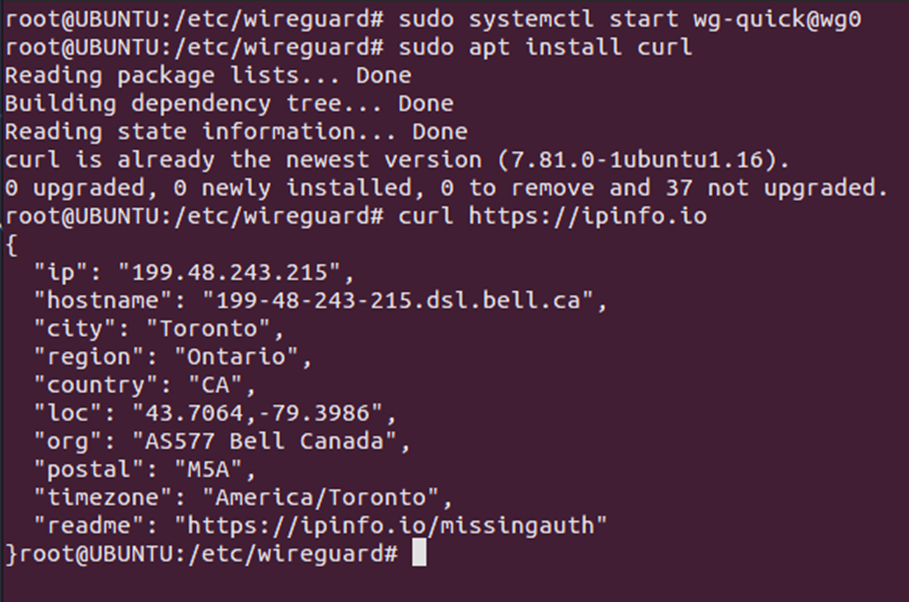
# sudo systemctl start wg-quick@wg0
Step 7 – Validation
We can use the curl command to query an external geo IP detection website to validate our external public IP
# curl https://ipinfo.io