You can connect to StarVPN servers using the Tunnelblick application software on your MAC OS operating system.
Step1 – Register an account with StarVPN
Head on over to our pricing plan options and choose a VPN plan that suits your needs. You can register on checkout or directly here.
Step 2 – VPN Login Information
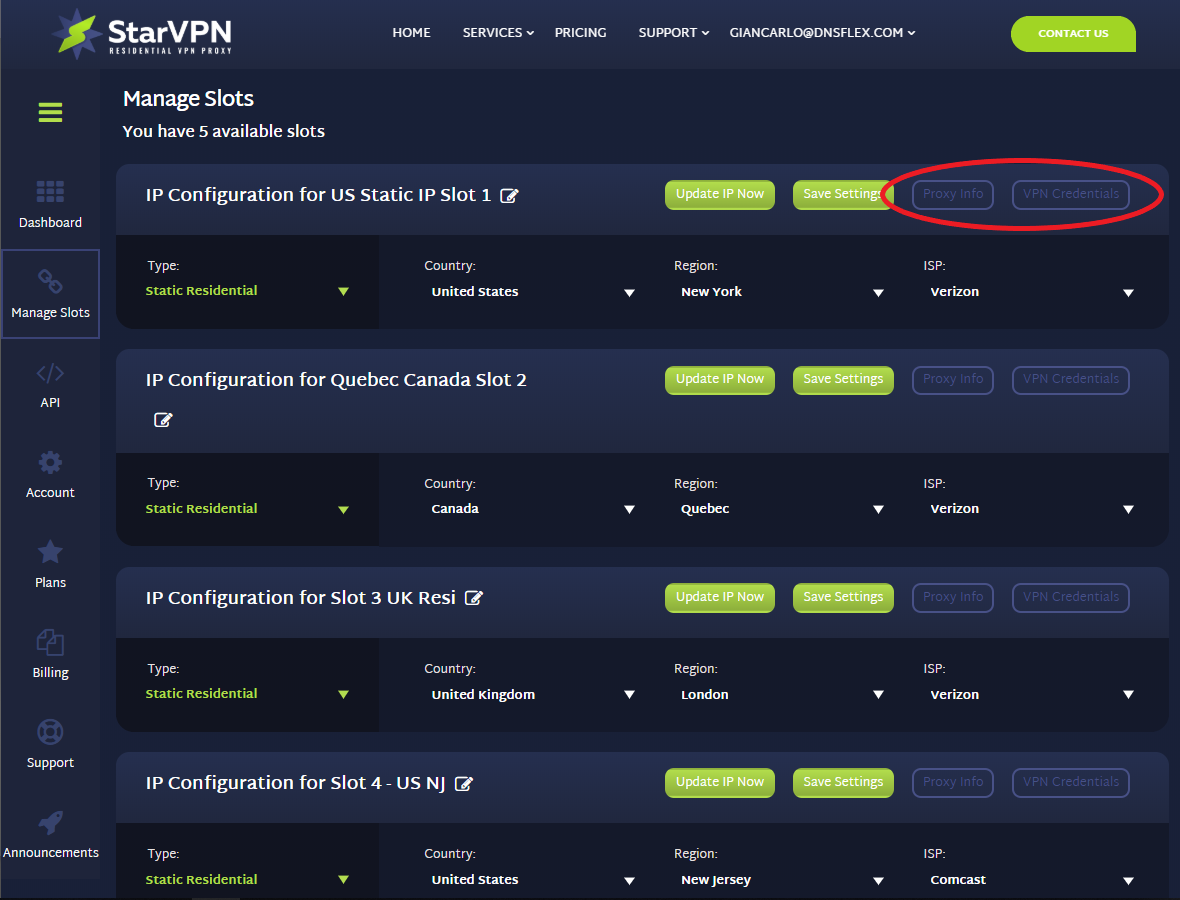
Log into the StarVPN member dashboard here. You can find your VPN username and password for each slot in the Manage Slots Section or dashboard area.

If you have multiple slots, the VPN configuration settings and credentials can be located in the “Manage Slots” section.
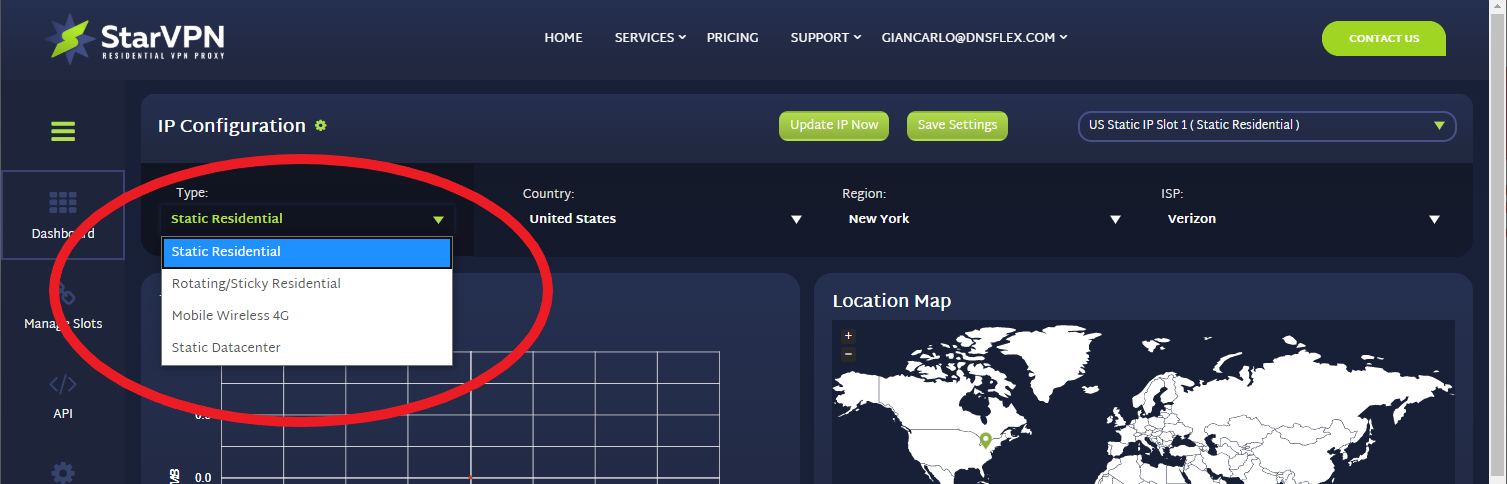
Step 3 – Choose your IP Type
Choose the type of IP you want to connect to. Options include – Static Residential, Mobile, Rotating or Datacenter. Once the selection is made, choose the Country, Region and ISP respective to the IP Type category you wish to connect to.
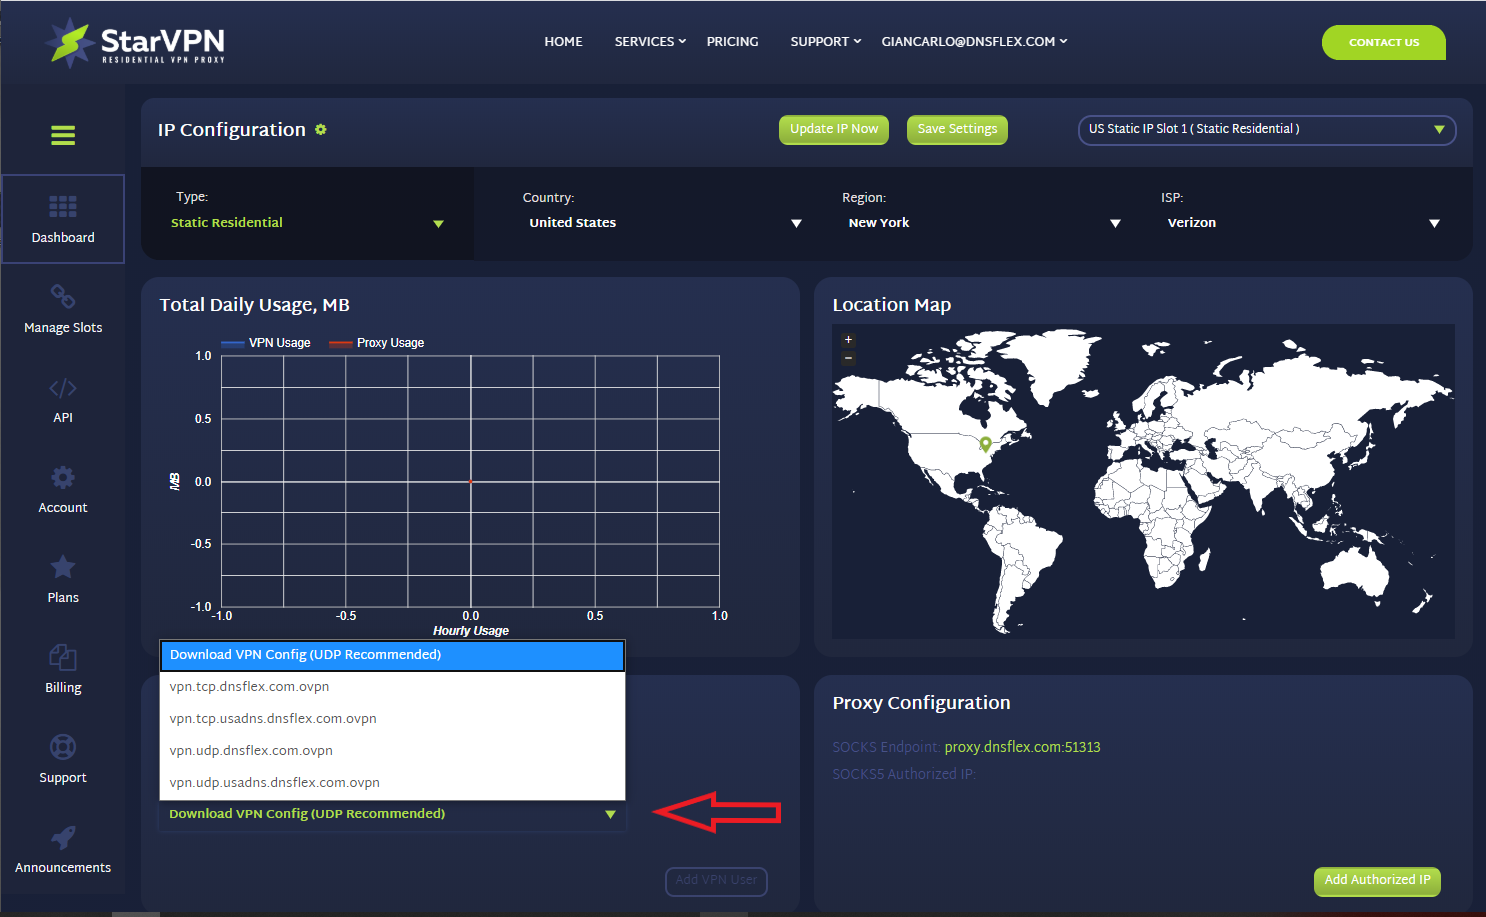
Step 4 – Download OpenVPN Configuration Files
The next step, you must download the VPN server configuration files necessary so that the OpenVPN Software knows where to connect to. Download the configuration file in the members area dashboard. This will be the only config file required to connect to all VPN access points.
Step 5 – Download the Tunnelblick Software
Open up your browser and download the latest Tunnelblick, software here.
Step 6 – Install Software
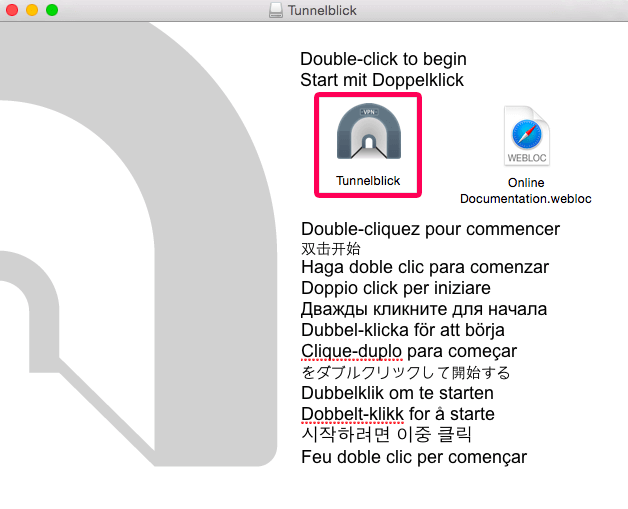
- Open the link to the downloaded installer .dmg file.
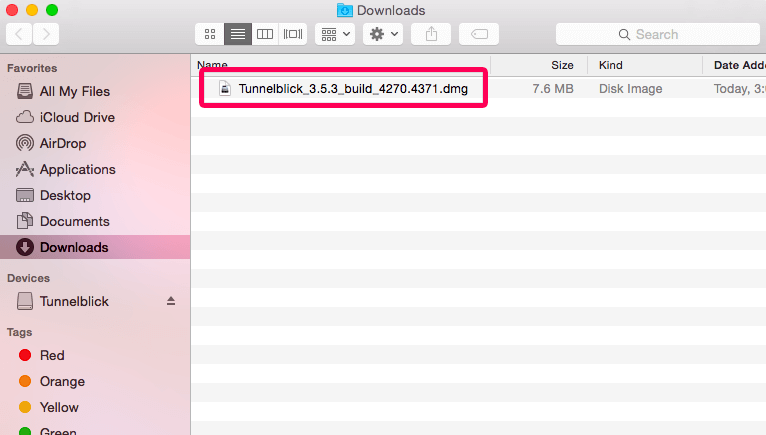
- Double click the link to the OpenVPN tunnelblick file you just downloaded to begin the installation process
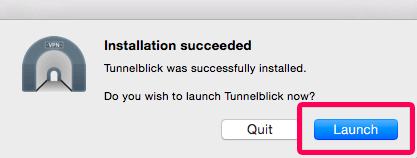
- Once the installation completes, you will be presented with a message – “Installation Succeeded“.
- Click “Launch“
Step 7 – Setup Tunnelblick with OpenVPN configuration files
Now that you have properly installed Tunnelblick software on your computer and downloaded the ovpn configuration file, its time to configure Tunnelblick with OpenVPN.
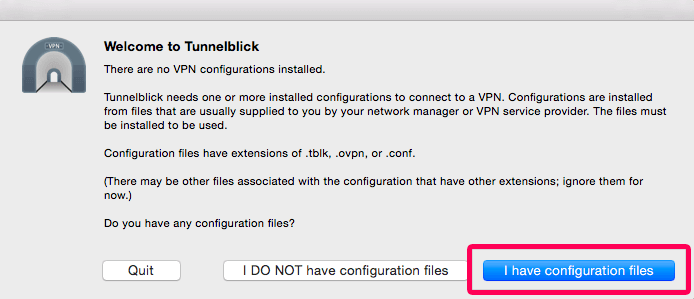
- The “Welcome to Tunnelblick” setup wizard will ask you to configure OpenVPN. Select “I have configuration files” to import the ovpn files you downloaded in the previous step.
- Navigate to the “downloads” folder, or wherever the openvpn files in step 3 were downloaded to. Double click the configuration file you would like to import. Note: Non Administrative users may be promoted to enter the username and password for authentication.
- The installer will display a message that one configuration has been installed, now the server will be listed in the VPN Server list. Click “OK” to accept this message.
Step 7 – Connect to the VPN Server
Now that you have properly installed the application and configured StarVPN OpenVPN files its time to connect to the VPN server.
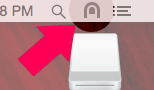
- Click on the Tunnelblick icon on the right of your screen
- From the drop down menu, select “Connect {server name}“
- When promoted to enter your username and password, enter the DNSFlex username and password created in the VPN Dashboard.
- A notification message will appear on the top right of your screen to let you know you are connected.