You can connect to StarVPN servers using the OpenVPN open source software on your MAC OS operating system.
Step1 – Register an account with StarVPN
Head on over to our pricing plan options and choose a VPN plan that suits your needs. You can register on checkout or directly here.
Step 2 – VPN Login Information
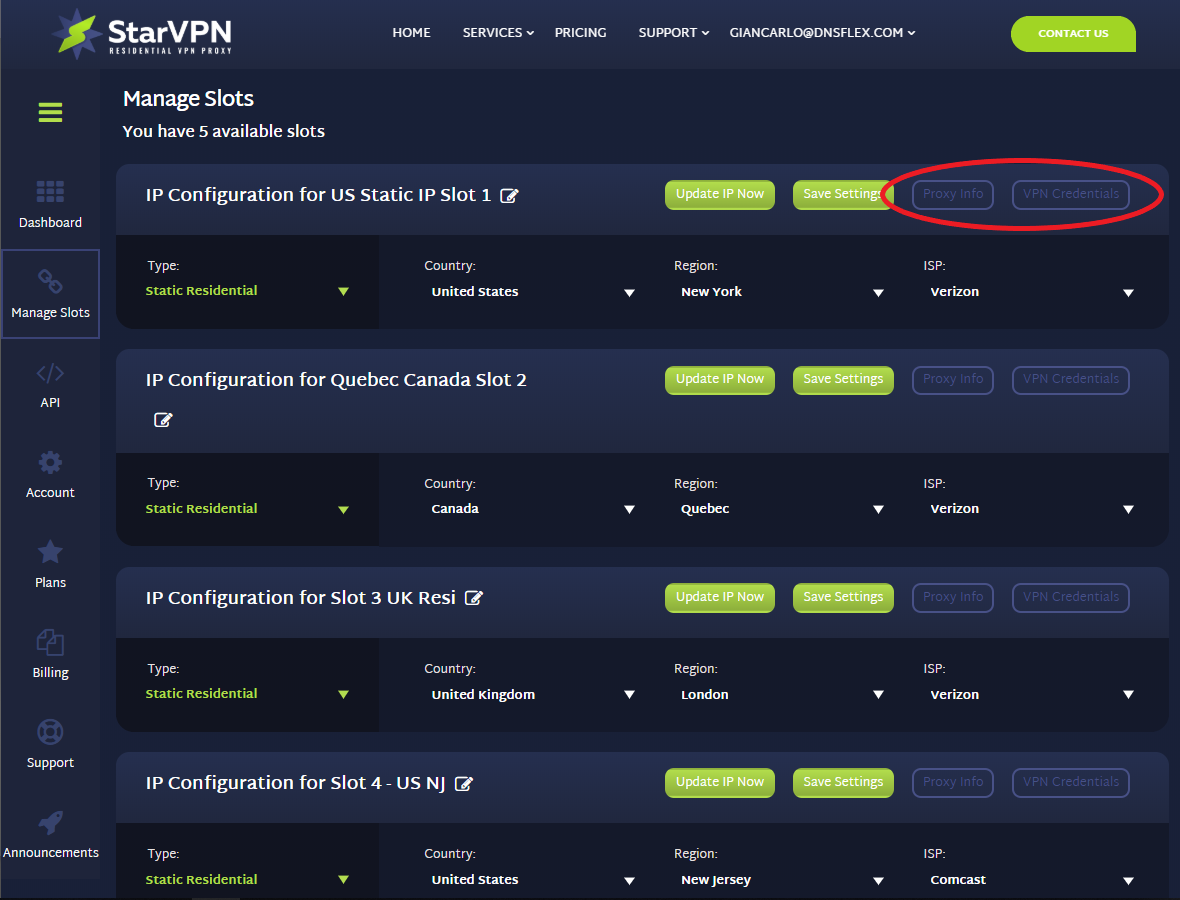
Log into the StarVPN member dashboard here. You can find your VPN username and password for each slot in the Manage Slots Section or Dashboard area.

If you have multiple slots, the VPN configuration settings and credentials can be located in the “Manage Slots” section.
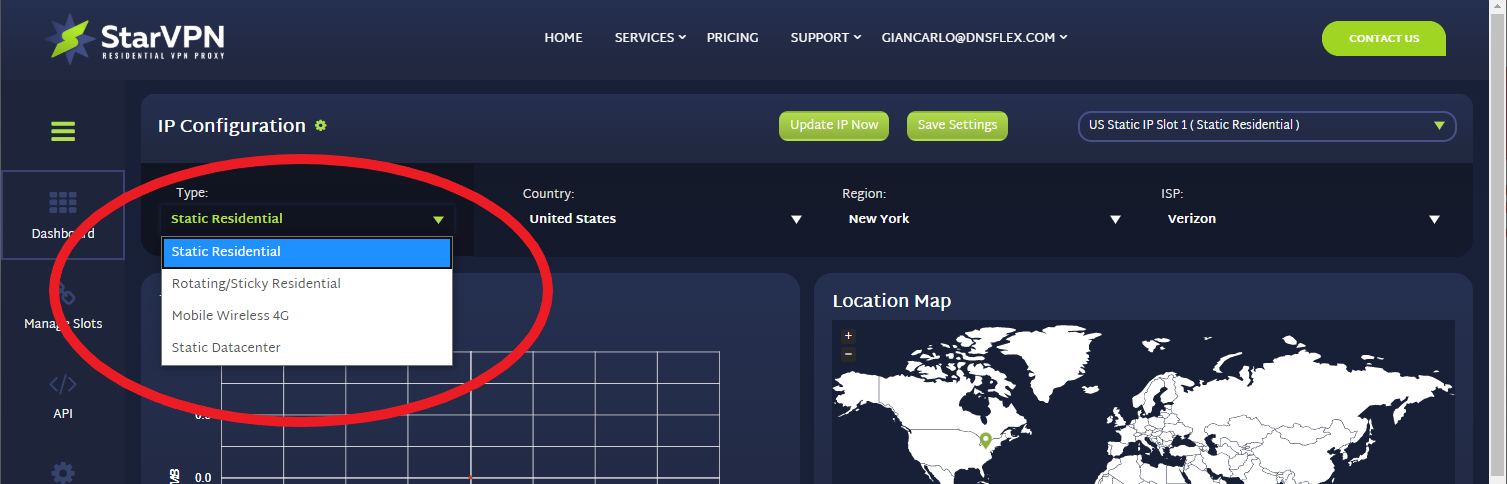
Step 3 – Choose your IP Type
Choose the type of IP you want to connect to. Options include – Static Residential, Mobile, Rotating or Datacenter. Once the selection is made, choose the Country, Region and ISP respective to the IP Type category you wish to connect to.
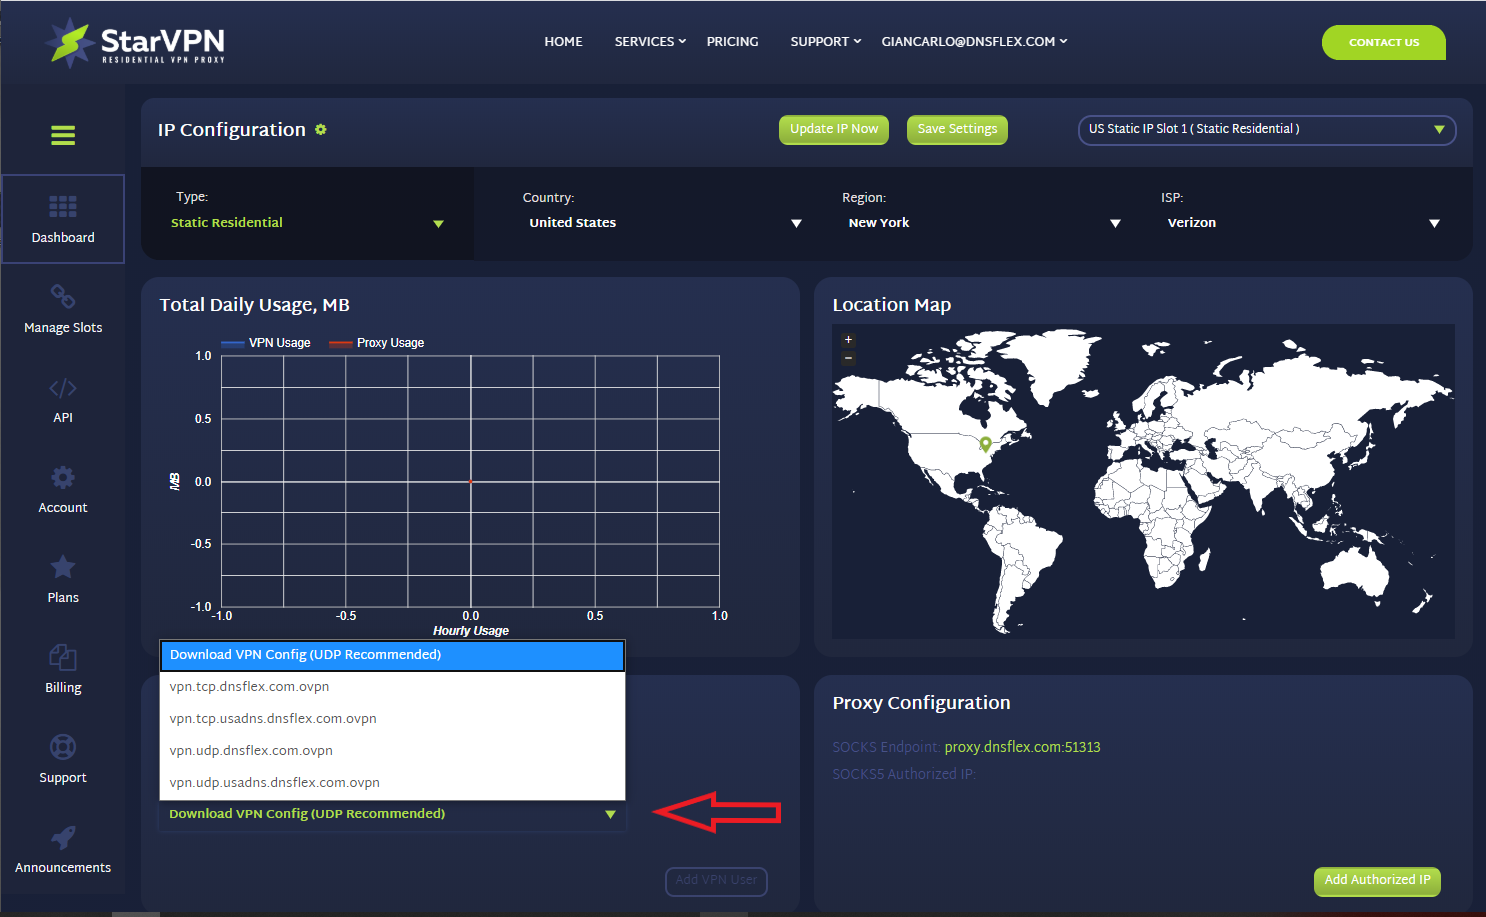
Step 4 – Download OpenVPN Configuration Files
The next step, you must download the VPN server configuration files necessary so that the OpenVPN Software knows where to connect to. Download the configuration file in the members area dashboard. This will be the only config file required to connect to all VPN access points.
Step 5 – Download the OpenVPN Connect (Client) Software
Open up your browser and download the latest stable, open source, OpenVPN software directly from the OpenVPN website. This version of software is compatible with Mac OS.
Step 6 – Install Software
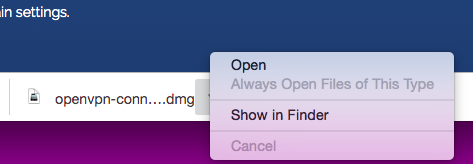
- Open the link to the downloaded “.dmg” file and begin the software installation procedure.
- Extract the package
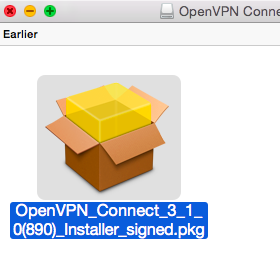
- Click “Continue” to begin the installation
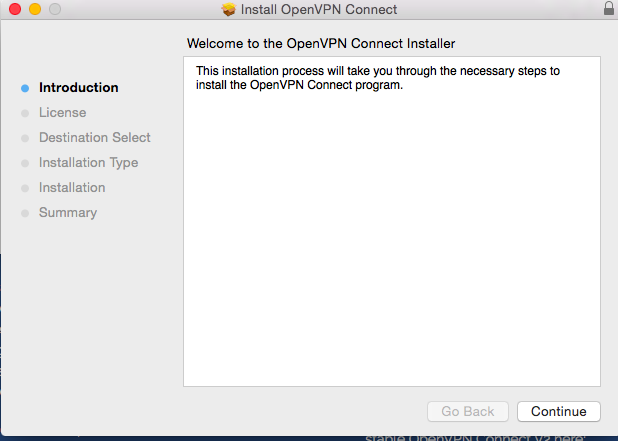
- Click “Agree” to continue on with the installation.
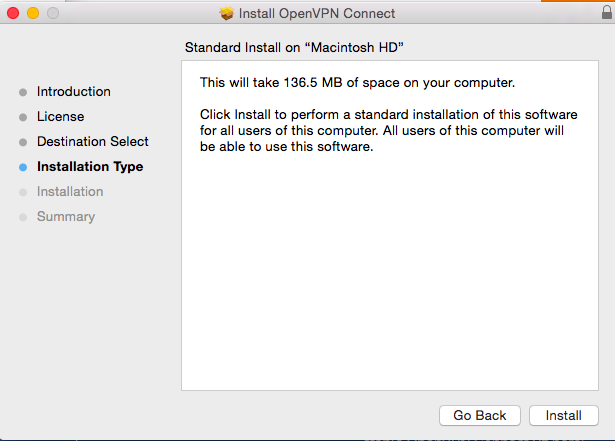
- On the next step, click “Install” to begin the installation procedure.
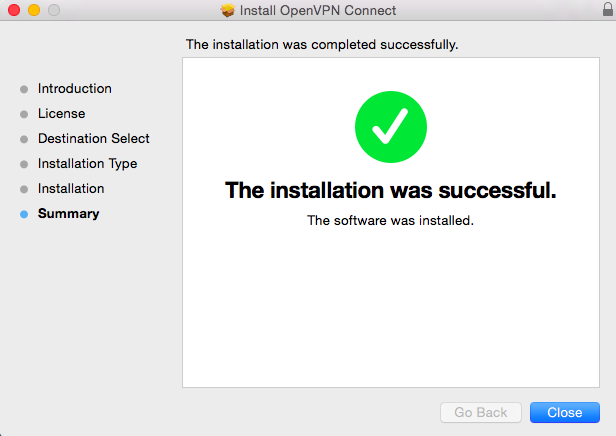
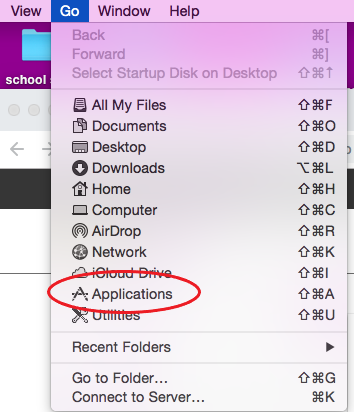
- Select Go -> “Applications” from the Apple menu
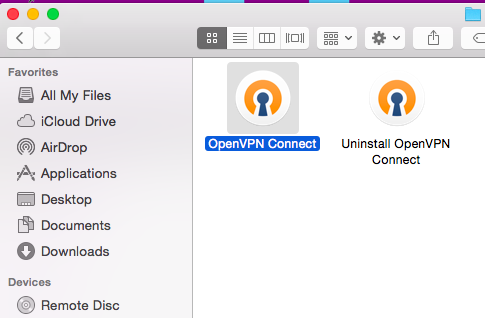
- Click “OpenVPN Connect” to launch the program
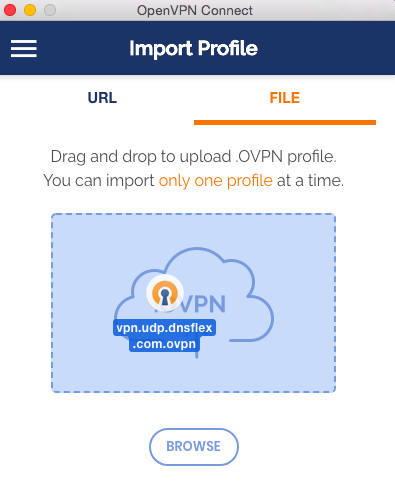
- Skip the on-boarding tour and select the “File” tab to import the .ovpn configuration file you downloaded in step 4.
- Drag and drop the .ovpn configuration file into the box
- Enter your VPN Username and Password found in the Member area dashboard
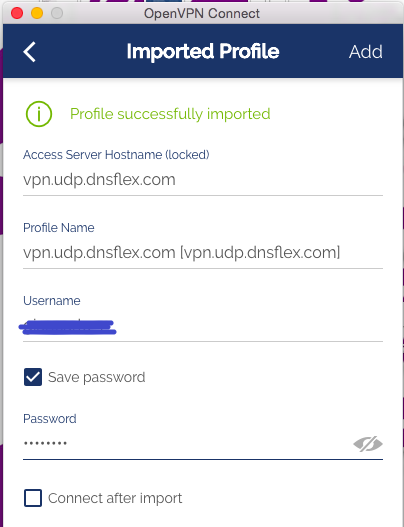
- Click the Connect button
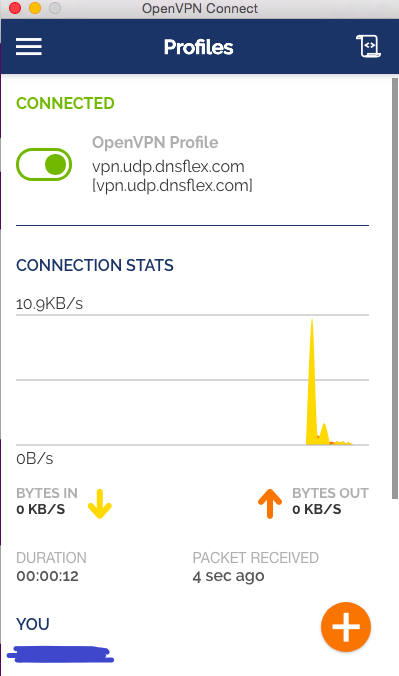
- That’s it, you’re all done! The OpenVPN connect icon on the upper tray menu will confirm you are connected.
