Sometimes you want to have the flexibility to choose which browser to use when surfing the web securely with discretion without the haggle of re configuring applications or settings every time. This method of proxy will allow just that, with a simple firefox add on that enables proxy on the browser application level. It also includes tune-able parameters to proxy individual sites only or Global proxying.
Firefox natively supports SOCKS5 proxy however it ships with limited abilities for example, there is no authentication support for the SOCKS5 protocol. StarVPN supports SOCKS5 proxy without username and password authentication..
Note: All StarVPN plans include instant access to a SOCKS5 Proxy server. If you haven’t done so already,please visit our pricing page and select a service plan.
Technical Level
- Beginner
Prerequisites
Pros
- Simple installation
- No PC Software to install that requires administrative privileges
- Masks your source IP and Geographical Location
- Does not affect speeds of other applications running on the same OS
- Super fast downloads
Cons
- No Data Encryption (Optional)
Note: This tutorial provides basic authentication without data encryption. For advanced security with data encryption, we suggest ordering the VPN solution.
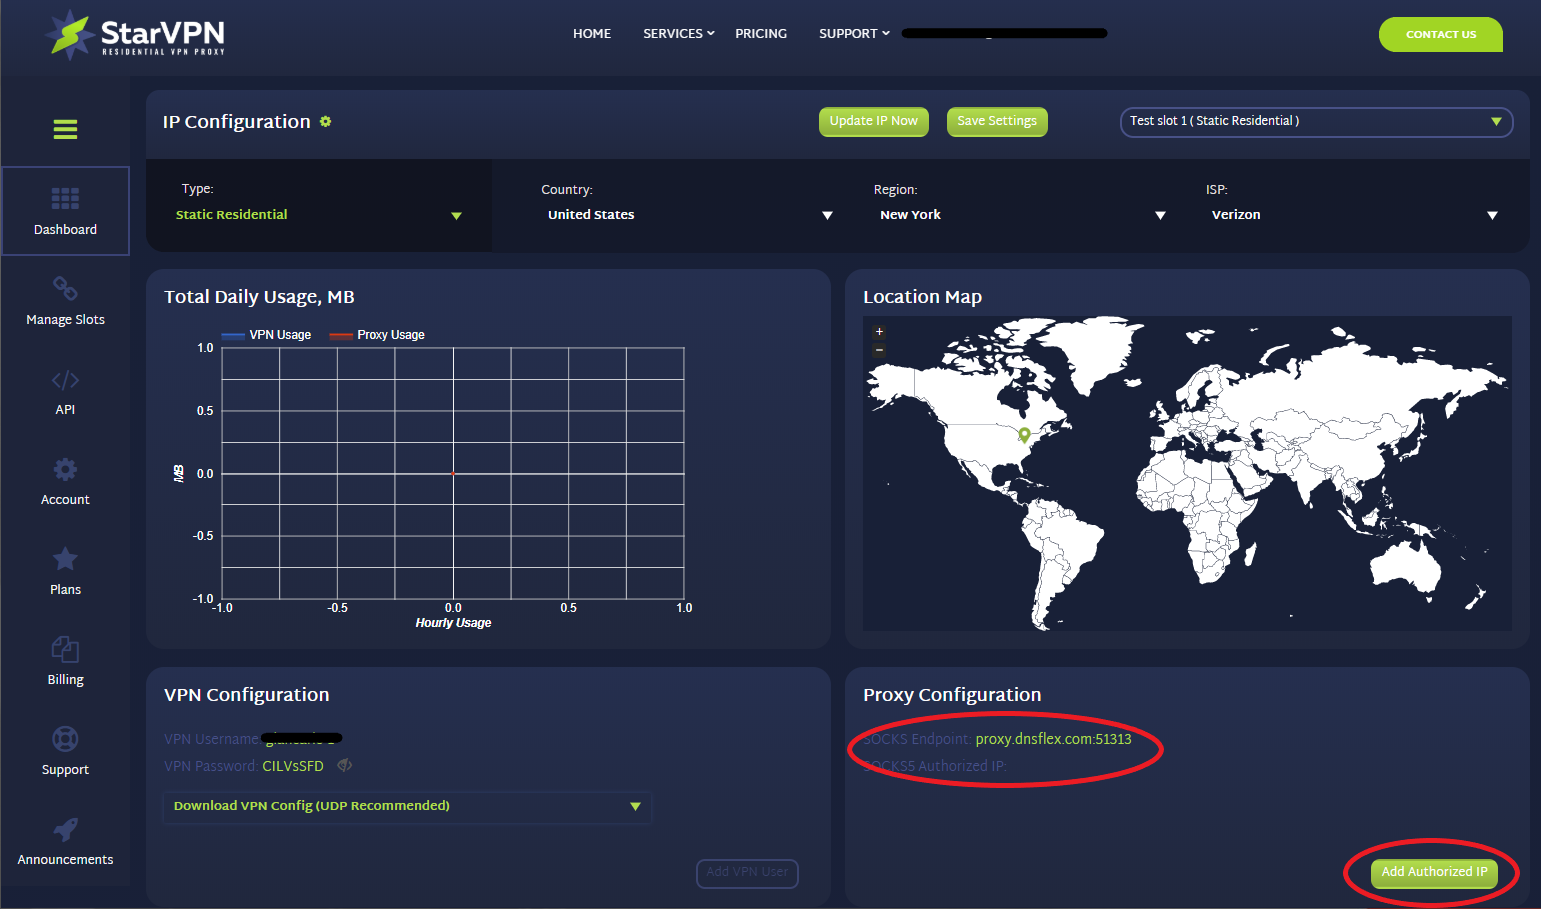
Step 1 – Add SOCKS Authorized IP’s
To use the SOCKS Proxy, add the IP address you would like to use to access the SOCKS Proxy server. Enter the SOCKS Proxy Endpoint into your Proxy Application and connect without User Authentication.
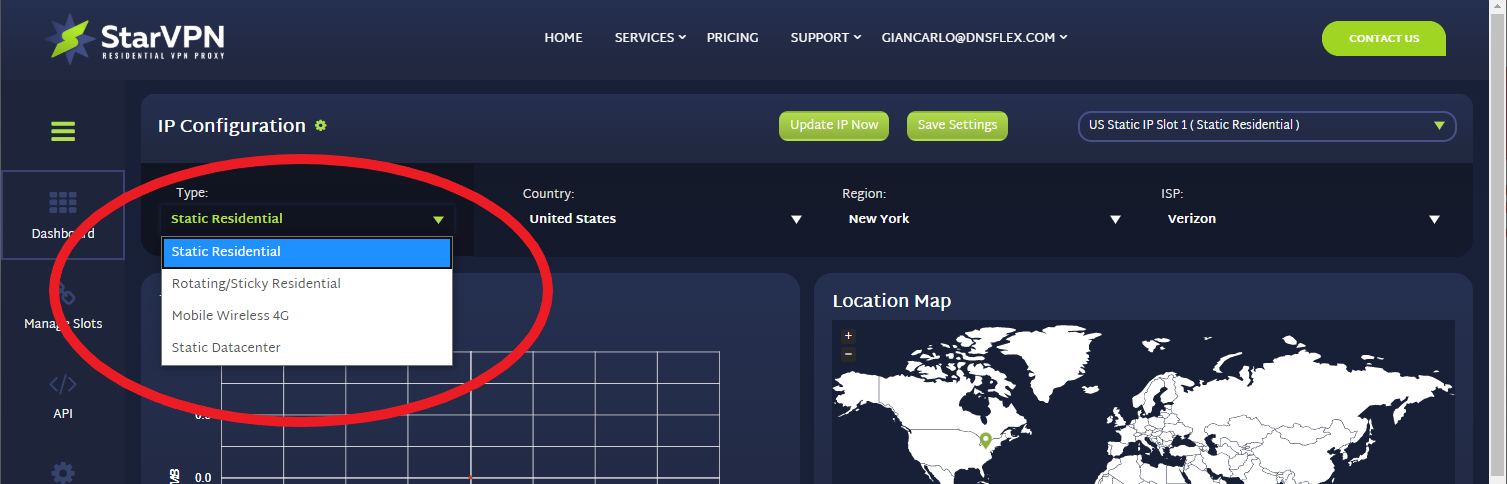
Step 2 – Choose your IP Type
Choose the type of IP you want to connect to. Options include – Static Residential, Mobile, Rotating or Datacenter. Once the selection is made, choose the Country, Region and ISP respective to the IP Type category you wish to connect to.
Step 3 – Install FoxyProxy
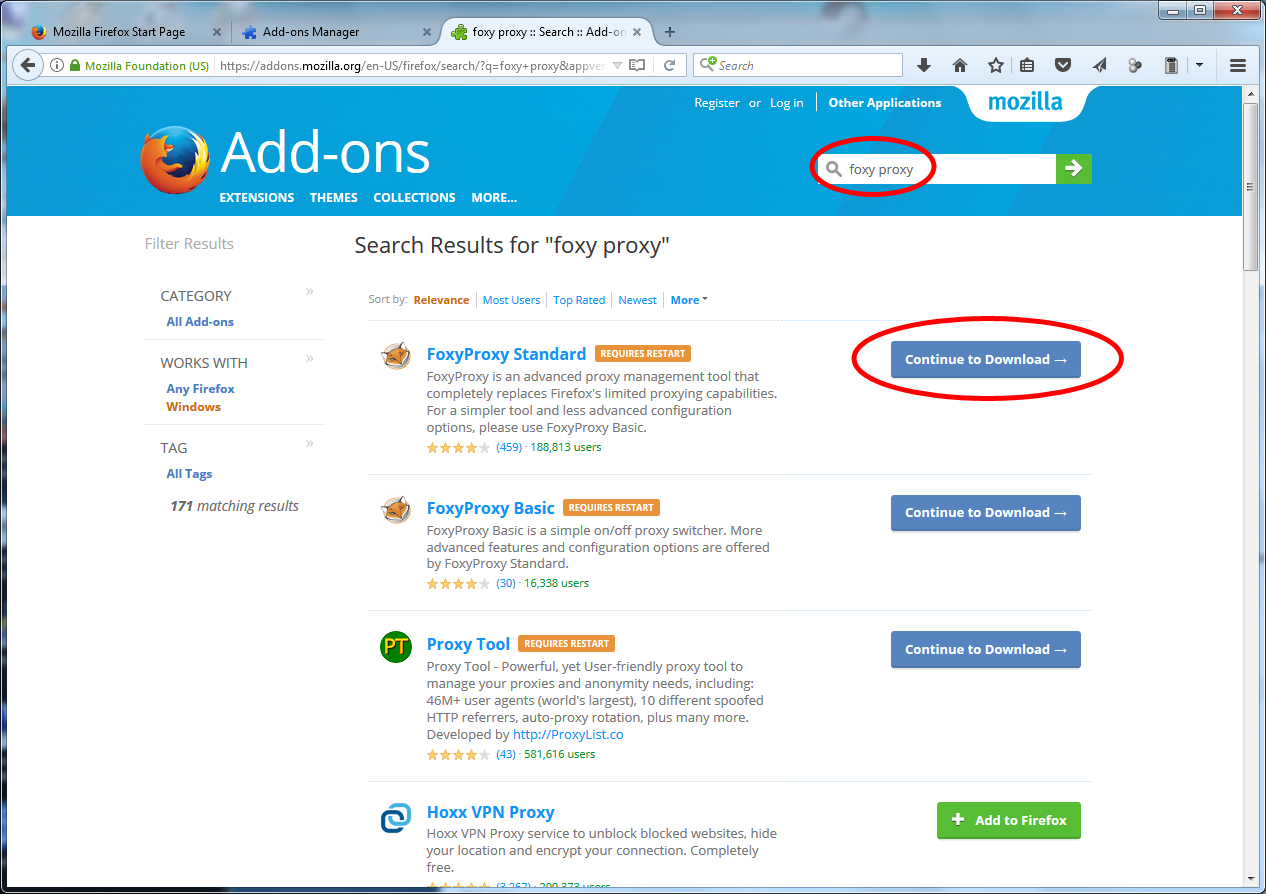
- Open up Firefix and browse to https://addons.mozilla.org/en-US/firefox/
- Find the search box on the top right of the page and search for “foxy proxy“
- Select “Continue to Download“
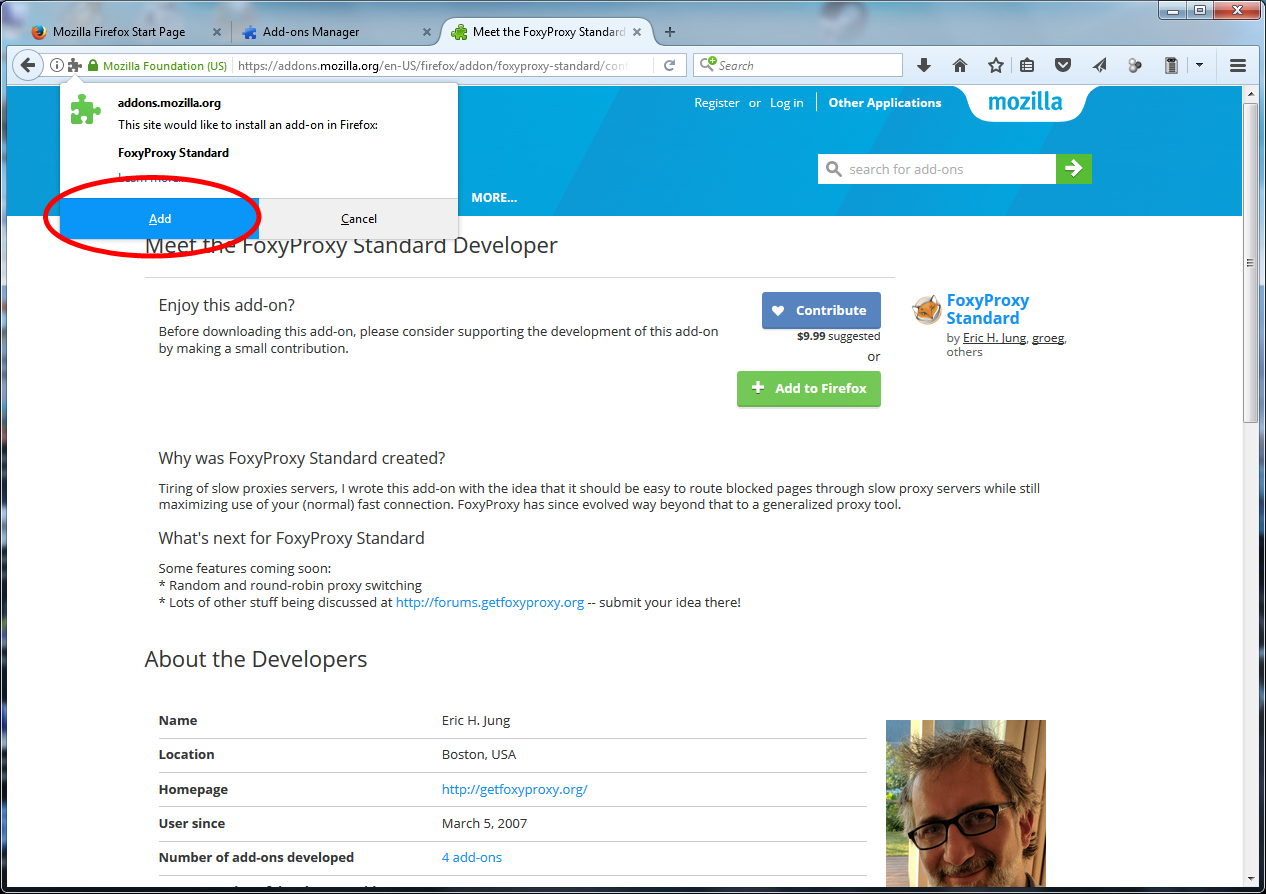
- Select “Add to Firefox“. Next, a pop up notification will appear, select “Add“.
- Restart Firefox to complete the installation.
Step 4 – Configure Foxy Proxy
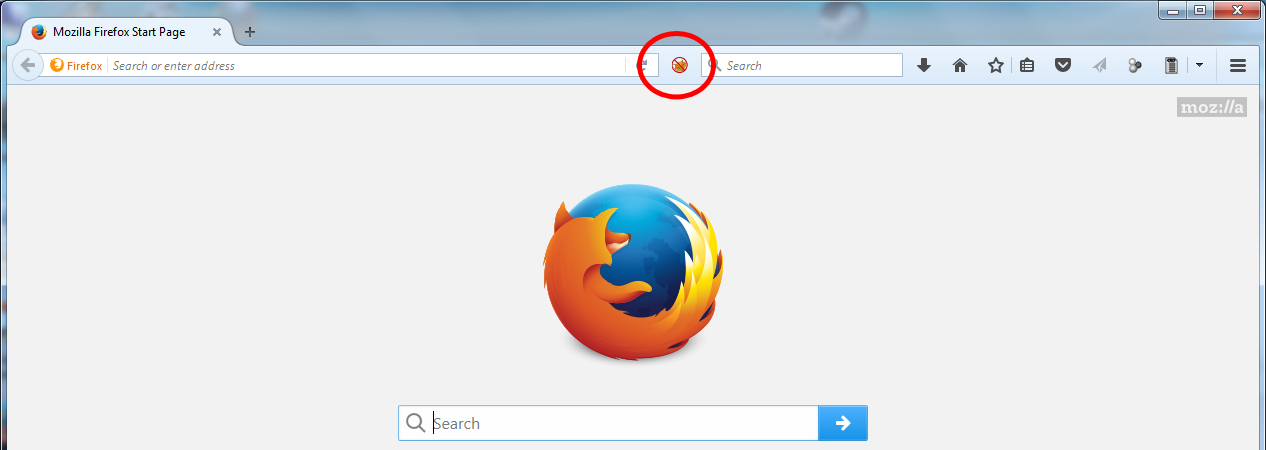
- Once you have restarted the browser you will notice a new icon on the top navigation bar. Click it to start the configuration process.
- Click on the “Add new Proxy” button
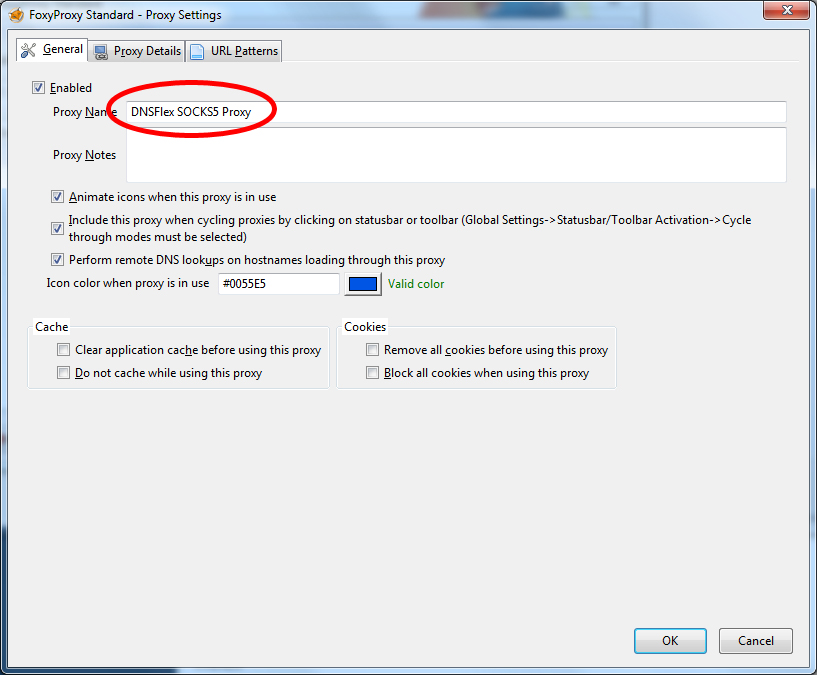
- Select the “General” and enter “StarVPN SOCKS5 Proxy” for the Proxy Name
Select the “Proxy Details” tab and enter the following information:
- Manual Proxy Configuration: Enabled
- Server or IP Address: proxy.starvpn.com
- Port: 51313 (Slot 1)
- SOCKS proxy: Enabled
- SOCKS v5: Enabled
- Username: (Leave Blank)
- Password: (Leave Blank)

5. Connect to Proxy
Now that all the configuration is done you are set to enable Foxy Proxy! Click OK to close the Proxy Settings page and locate “Select Mode” and set this to “Use Proxy StarVPN Proxy for all URLs“
That’s it, you’re done! Now to validate simply browse to http://whatismyip.com to check your IP Address.