This user guide provides the steps required to configure the OpenWRT Router with Wireguard Client from StarVPN.
Step1 – Register an account with StarVPN
Head on over to our pricing plan options and choose a VPN plan that suits your needs. You can register on checkout or directly here.
Step 2 – Download Wireguard Configuration
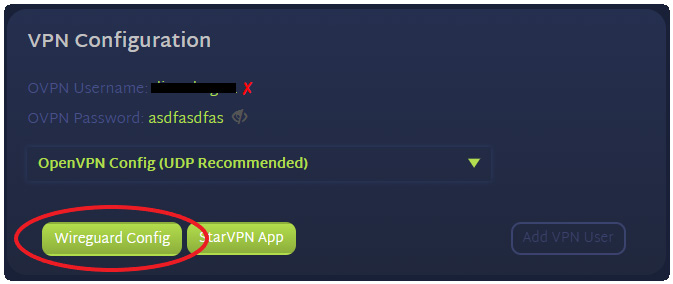
Log into the StarVPN member area dashboard. Click on Wireguard Config to download the configuration file. Each slot will contain a unique wireguard configuration file.
Step 3 – Login to the OpenWRT Router to install Wireguard Client
- Login to the Router UI by accessing your web browser and entering the Router IP in the address bar. The default address is 192.168.1.1.
- Navigate to System -> Software and click on Update lists.
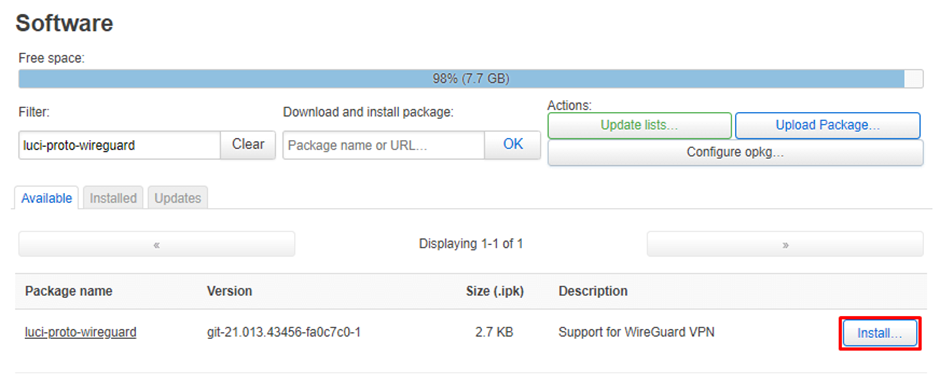
- Search for luci-proto-wireguard and install
- Once installed, reboot the router by clicking on System -> Reboot and click on Perform reboot
Step 4 – Configure Wireguard
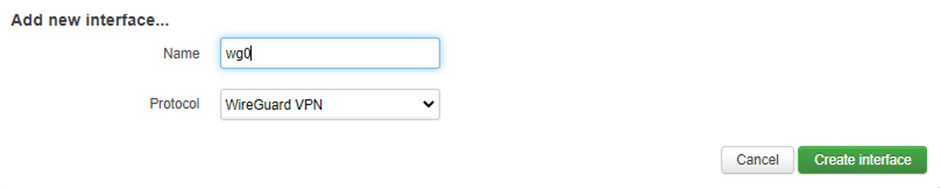
- Navigate to your router’s web interface to log in. Once logged in, navigate to Network -> Interfaces. Create a new Interface called wg0.
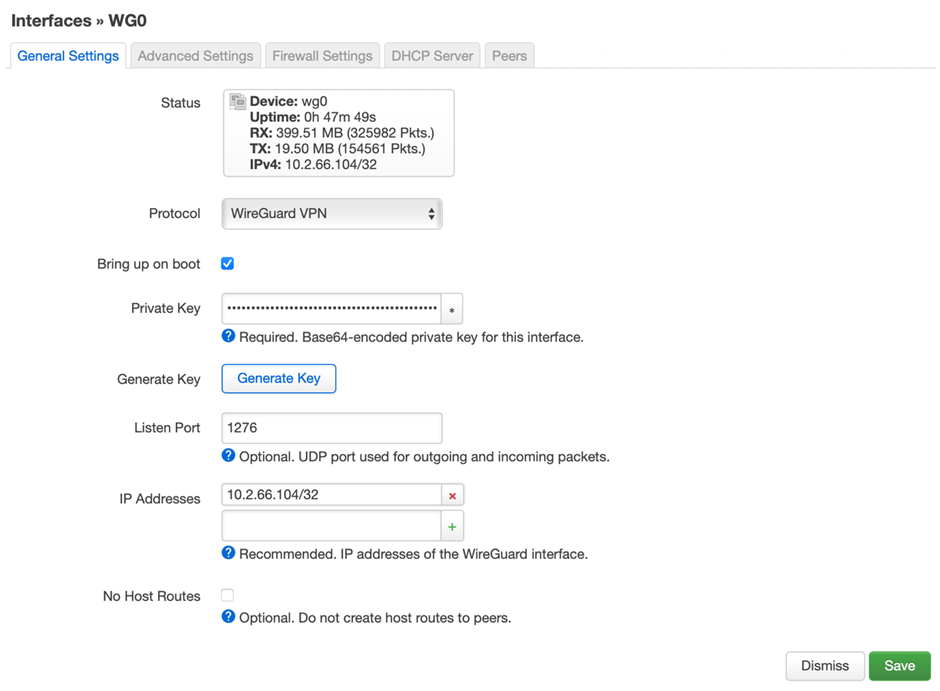
- Navigate to General settings and enter the following information:
| Bring up on boot | Checked |
| Private key | ***enter your private key from Config File*** |
| Listen Port | ***enter your private key from Config File (number after endpoint host address – usually 1276)*** |
| IP Address | ***enter IP Address from Config File*** |
| See example setup below |
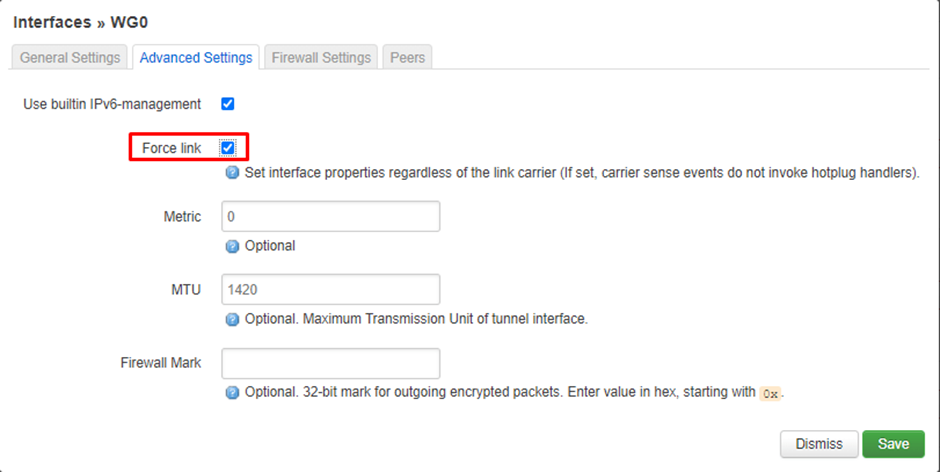
- Navigate to Advanced Settings. Make sure Force link is selected
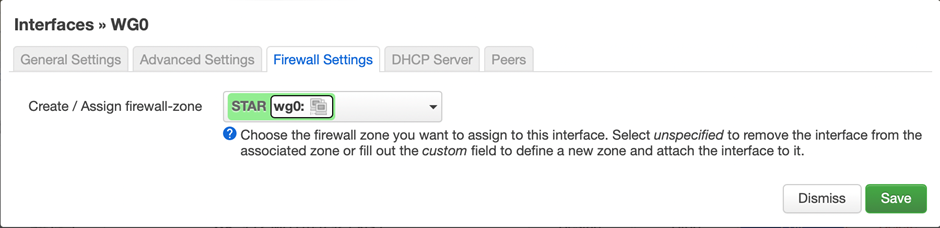
- Navigate to Firewall Settings and click on Create/Assign firewall-zone. Enter STAR as the name and click Enter.
- Navigate to Peers and click on Add peer.
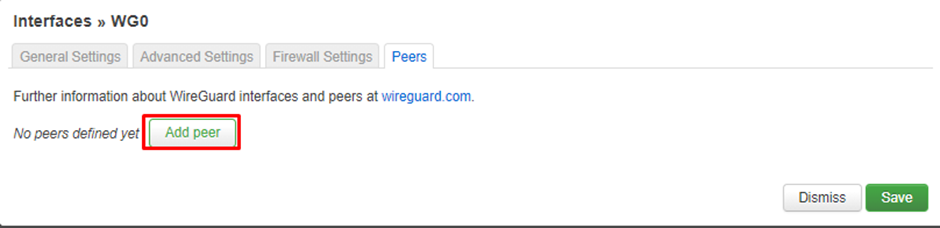
Enter the following information:
| Description | starpeer |
| Public Key | ***enter your public key from Config File*** |
| Preshared Key | (leave blank) |
| AllowedIPs | 0.0.0.0/0, ::/0 |
| Route Allowed IPs | Checked |
| Endoint Host | ***enter your enpoint from Config File (wg.starhome.io)*** |
| Endpoint Port | *** enter your endpoint port from your config (1276)*** |
| Persistent Keep Alive | 25 |
- Click on Save.
- Click on Save & Apply.
At this point you may lose internet connectivity. Internet connectivity will be restored at the end of the guide once all steps have been followed.
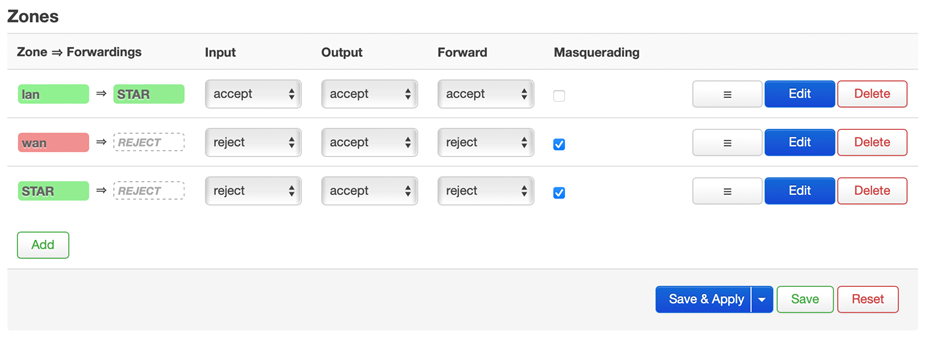
Step 5 – Firewall Configuration
- Navigate to Network -> Firewall. Find the firewall rule called OVPN in the list and click Edit. Enter the following information:
| Input | Reject |
| Output | Accept |
| Forward | Reject |
| Masquerading | Checked |
| MSS Clamping | Checked |
| Covered network | wg0 |
| Allow forward from source zones | LAN |
- Click on Save. Find the rule called “LAN” and click on Edit. Under Allow forward to destination zones, make sure OVPN is selected and that WAN is deselected. This will avoid any potential leaks.
Thats it, you’re all done!
Once you are connected, login to the StarVPN dashbard to configure your IP Type, Geo-location and ISP. No additional configuration files are required.